plonesocial.auth.rpx
plonesocial.auth.rpx is an addon product for Plone which allows users to authenticate via the JanRain’s RPX service. RPX is sort of a proxy to let a user authenticate with a lot of identity services such as OpenID, Twitter, Facebook and many others.
Different from the OpenID plugin for Plone the RPX plugin does not just create a virtual user but instead it will map the verfied identifier from RPX (e.g. your OpenID) to an existing or to be created user account. A user is also able to map various identifiers to the same Plone account thus being able to login with his Twitter, Google or Facebook account to the same Plone account.
plonesocial.auth.rpx also allows the user to manage those mappings.
Here is a screencast showing how it looks to the end user:
Tutorial
Install plonesocial.auth.rpx in Plone
Look for your buildout.cfg and search for the following line:
[buildout]
...

eggs =
    ...
Add a new indented line to it like this:
eggs =
    ...
    plonesocial.auth.rpx
and rerun buildout:
bin/buildout -vv
(or without -vv in case you don’t need the additional debug output).
Then restart your Plone site.
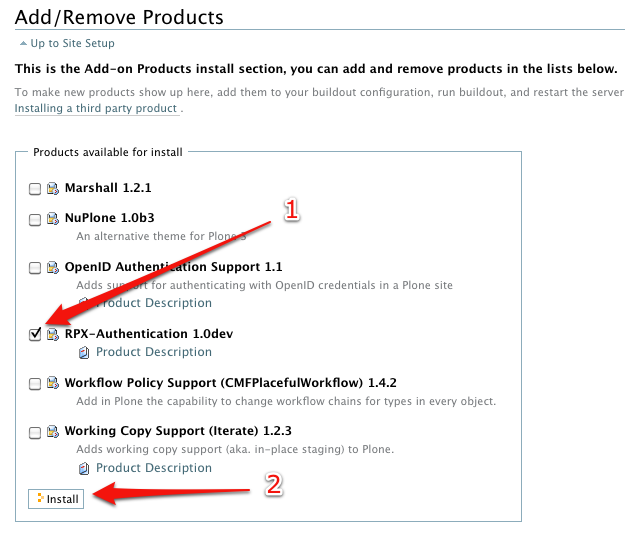
Go to “Site Setup” and then to “Add-on Products” and install it:
Creating an account at RPX
Go to the RPX website, click on “Sign In” in the upper right corner and login with one of your existing accounts. You don’t need to register as an existing account on e.g. Google or Twitter is sufficient.
After that agree to the Terms of Service.
Create a New Application on RPX
You will be presented with the following screen:
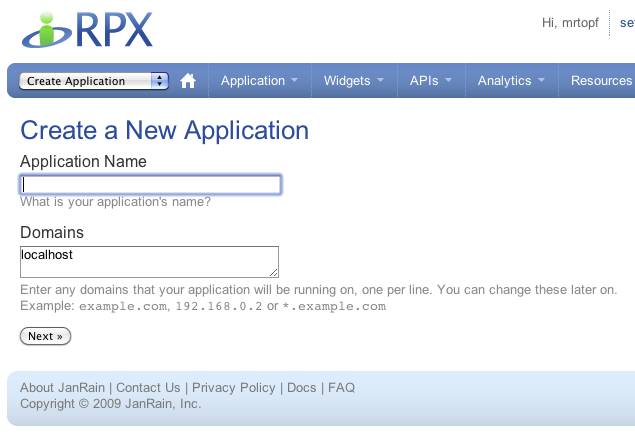
Lets assume that you want to first test it locally on your machine so give your application a name (we use “Plone RPX Text” here) and keep the localhost domain in the domains field.
In case you are running a live site you would of course enter it’s domain in there.
Collect necessary information from RPX
After you created the application you will be on the main application page. There you can obtain the API key (after clicking “Show”) and the RPX domain which in our case is https://plone-rpx-test.rpxnow.com/:
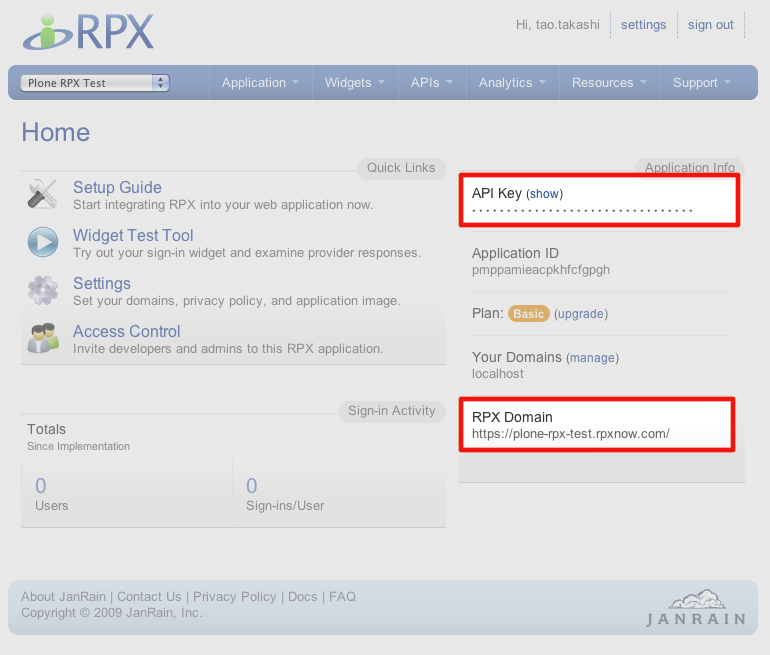
Write down or copy and paste those two settings.
Configuring the Plone site
In the Site Setup in Plone you will find a new item “RPX settings” at the bottom of the left bar. Click on it to go to the RPX configuration screen.
Enter your RPX details you wrote down in the earlier step there:
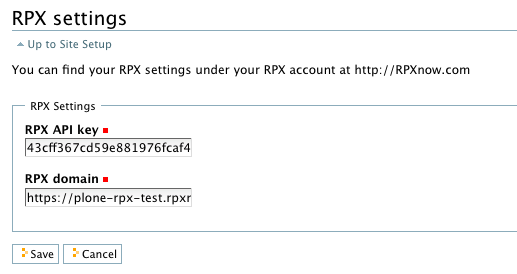
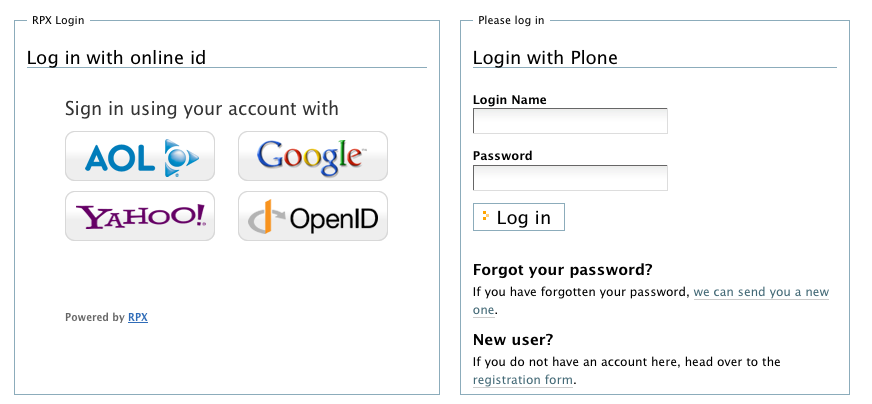
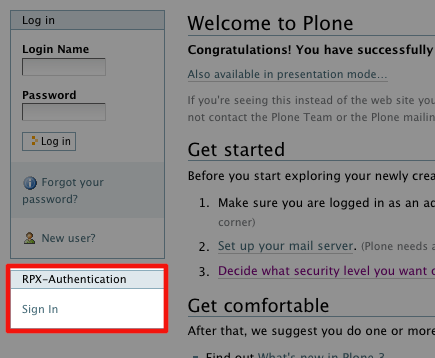
Submit the form. RPX should now be ready to be used on the site and appear in case you are logged out either as portlet or on the login screen:
Configuring self-registration
Now you should decide whether you want to enable self-registration of users or not. This influences also on how the RPX plugin works:
- with self-registration a user after identifying himself will be presented with the choice to either create a new account (prefilled with the values obtained from the identification process, e.g. the fullname from Google) or to map this identifier to an existing account he already has on the site.
- without self-registration the only option is to map this identifier to an existing account. This also means that you cannot login at all if you don’t have an account created by an administrator on the site.
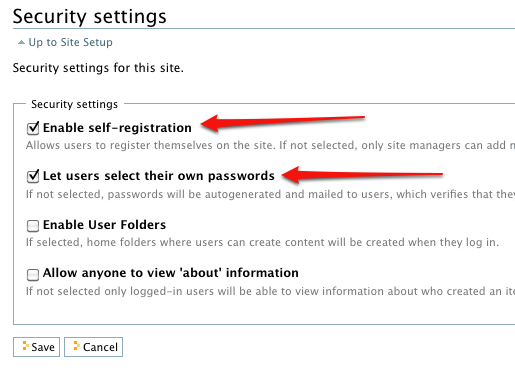
Plone defaults to allow no self-registration. In order to change this go to the “Security” configuration option in the left list and enable self-registration and optionally to let users choose their own password:
After submitting the form your RPX component will give a user the choice of creating or mapping an account.
Using Plone with RPX
Here is a run-through with self-registration enabled:
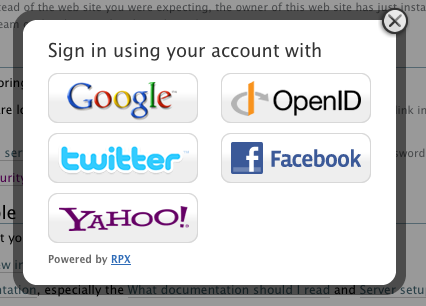
- The user clicks “Login with RPX” in the login portlet
- The user logs in with his Google account
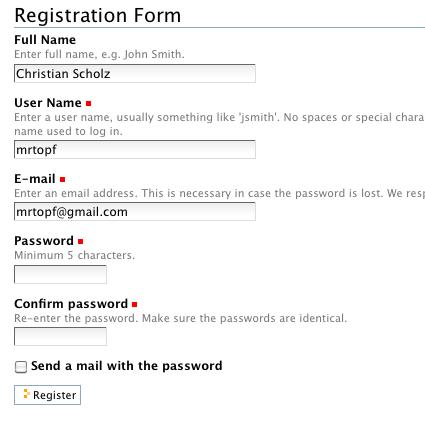
- The user registers a new Plone account mapped to the Google account (fullname, userid and email are already prepopulated in the registration form)
- The user logs out again
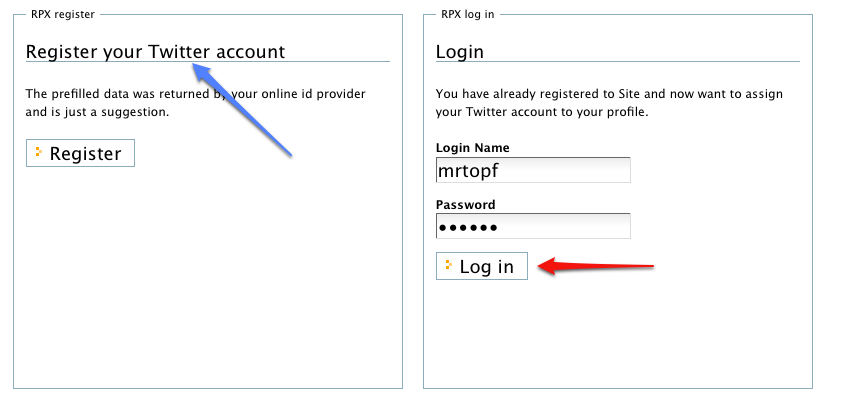
- The user logs in again but this time using his twitter account
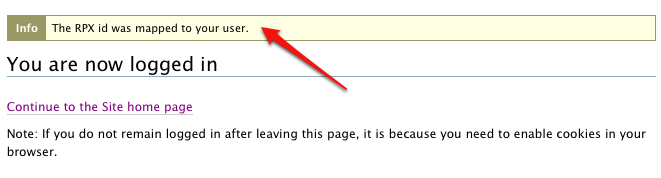
- The user maps this twitter account to the same plone account created in step 3 by entering Plone username and password
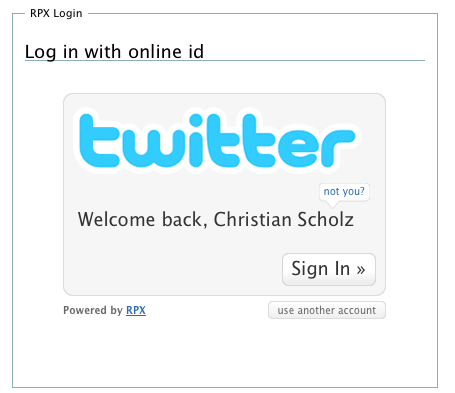
- The user can then either login with his twitter or Google account to the plone site. The last login type will be remembered:
Here is all this in pictures:

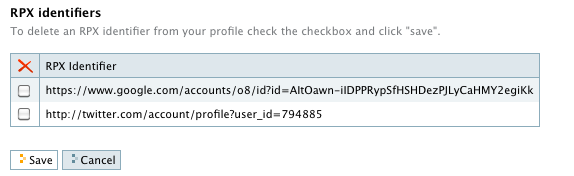
The user is also able to edit the mappings of RPX identities to his Plone account by clicking on his name, then going to “Personal preferences” and at the bottom will be a list of all RPX identities mapped to his account:
Credits
- Carsten Rebbien (main programming, cr@comlounge.net)
- Christian Scholz (concept, bugfixing and documentation, cs@comlounge.net)
Development was sponsored by COM.lounge GmbH.
Source Code
The source code is available at http://bitbucket.org/cryu/plonesocial.auth.rpx/
Python Package
The package can be found at http://pypi.python.org/pypi/plonesocial.auth.rpx/
License
MIT License
Copyright (c) 2010 COM.lounge GmbH
Permission is hereby granted, free of charge, to any person obtaining a copy of this software and associated documentation files (the “Software”), to deal in the Software without restriction, including without limitation the rights to use, copy, modify, merge, publish, distribute, sublicense, and/or sell copies of the Software, and to permit persons to whom the Software is furnished to do so, subject to the following conditions:
The above copyright notice and this permission notice shall be included in all copies or substantial portions of the Software.
THE SOFTWARE IS PROVIDED “AS IS”, WITHOUT WARRANTY OF ANY KIND, EXPRESS OR IMPLIED, INCLUDING BUT NOT LIMITED TO THE WARRANTIES OF MERCHANTABILITY, FITNESS FOR A PARTICULAR PURPOSE AND NONINFRINGEMENT. IN NO EVENT SHALL THE AUTHORS OR COPYRIGHT HOLDERS BE LIABLE FOR ANY CLAIM, DAMAGES OR OTHER LIABILITY, WHETHER IN AN ACTION OF CONTRACT, TORT OR OTHERWISE, ARISING FROM, OUT OF OR IN CONNECTION WITH THE SOFTWARE OR THE USE OR OTHER DEALINGS IN THE SOFTWARE.